
Last updated on March 16, 2018, 4:22 PM
As is often the case in WordPress, there are 2 variants. The manual variant in which you have to attack and change certain WordPress files, and the “plugin method” to install the Google Tag Manager in WordPress. The advantages of Google Tag Manager (GTM) have already been briefly explained here, and since there are actually only advantages, you should also use this wonderful tool :)
The plugin method for installing GTM in WordPress
There is a wonderful plugin called Duracell Tomi’s Google Tag Manager for WordPress that pretty much does all the work for you. When using this plugin you actually only need 3 steps:
- Search and install the plugin
- Activate the plugin in the WordPress plugin menu
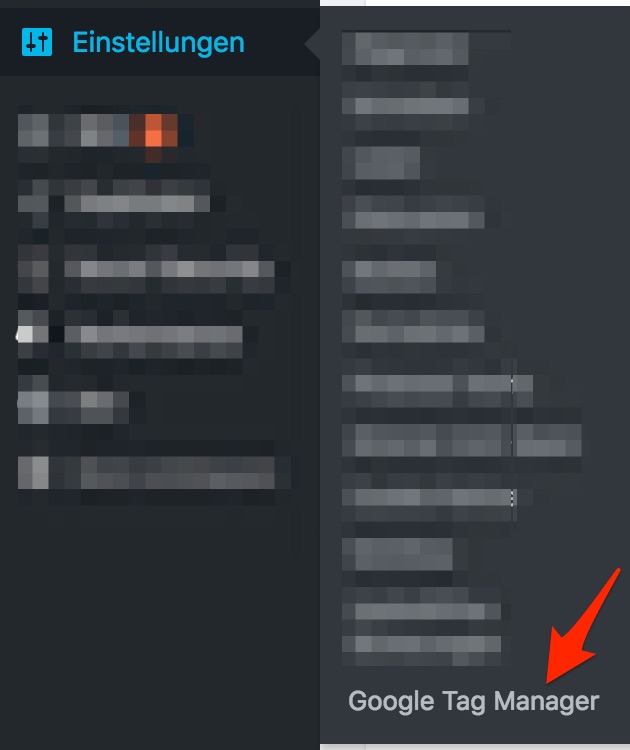
- In the settings, click on “Google Tag Manager” and enter the Google Tag Manager Container ID (which you have to copy beforehand in the Tag Manager interface).


The manual method to install Google Tag Manager in WordPress by modifying the header.php file
If you’re not afraid of fiddling with your theme’s header.php files a bit, then I recommend this method as it saves you having to use a plugin. The disadvantage here is that you obviously have to repeat this change if you change the theme. Here you first have to get the install code from the Tag Manager and copy it to a file or the clipboard.
You can find the install code in the GTM here:

and then
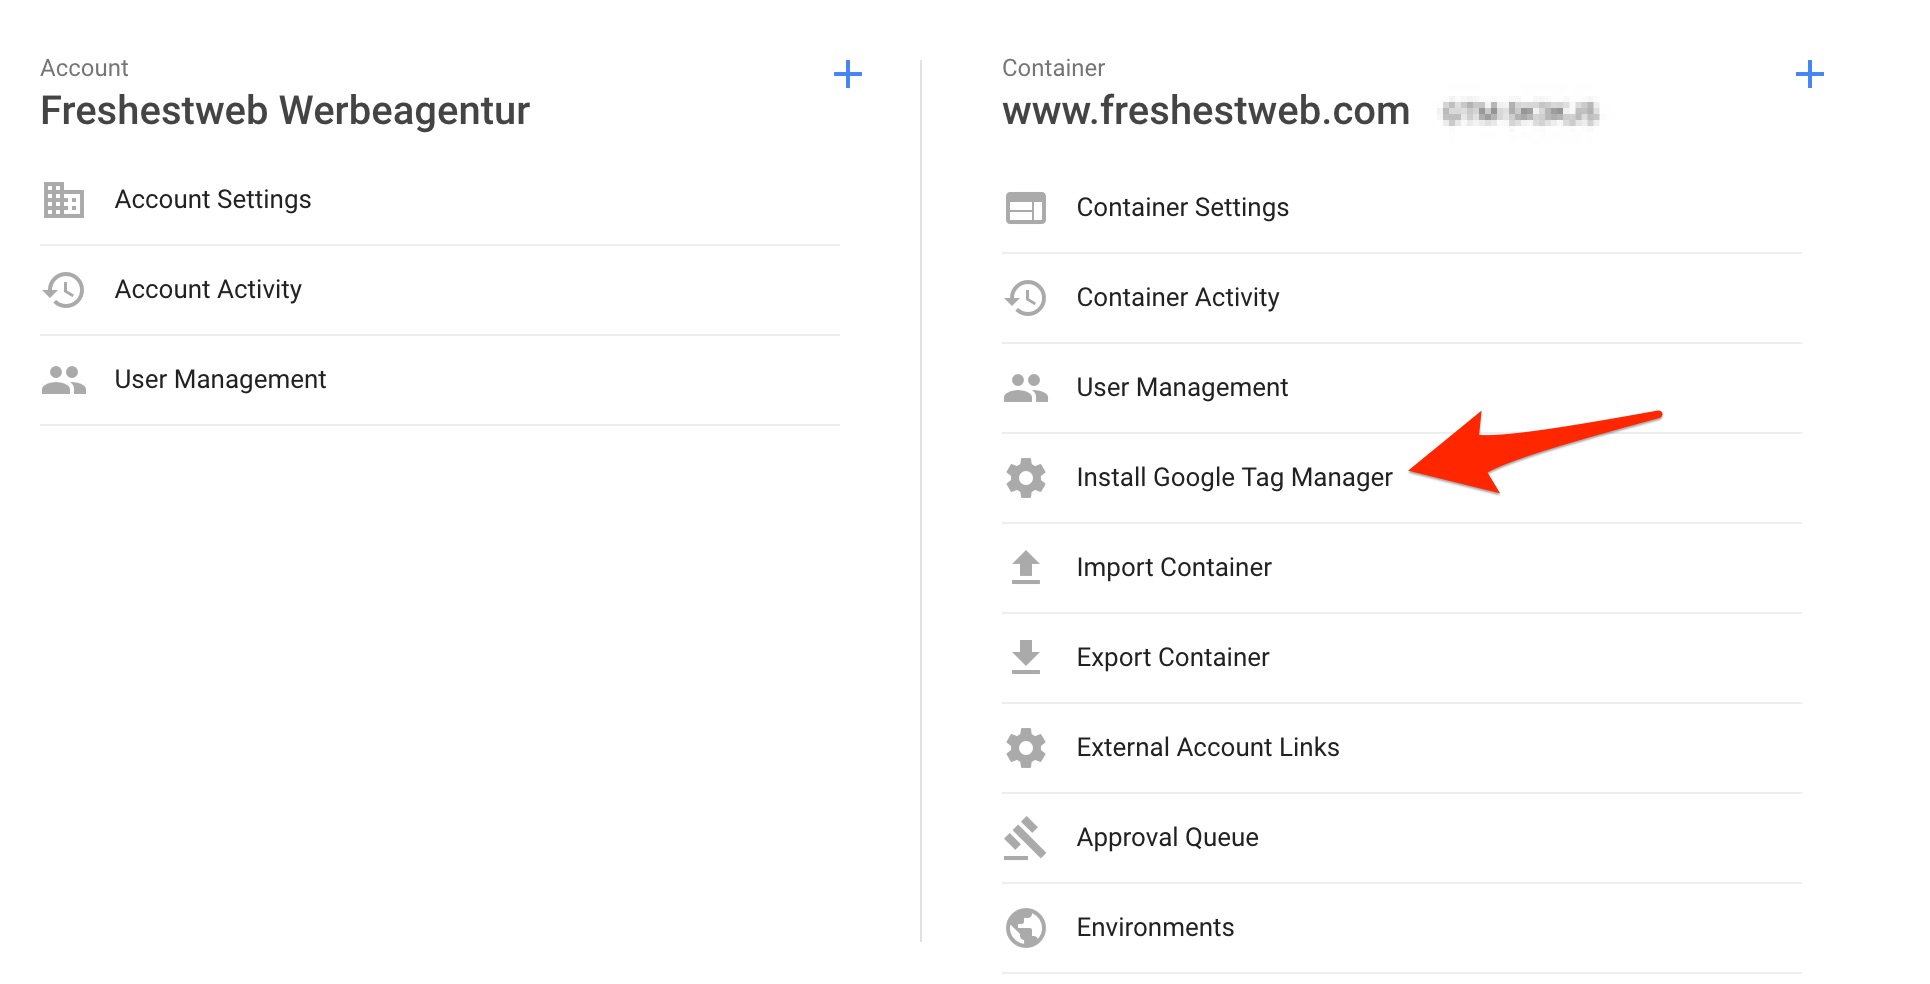
There you take the code for the header and body area. This then usually has to be inserted into the header.php file using an editor (Design -> Editor). To be on the safe side, it’s best to save a version of header.php before making the changes. If you’re comfortable here, I would recommend this method. If not, the security option is probably the plugin method with the Duracell Tomi plugin :).
Once Google Tag Manager is installed cleanly, the next useful step is this overview of helpful Google Tag Manager features and how to use them.
We would be very happy about a review of the blog post :)